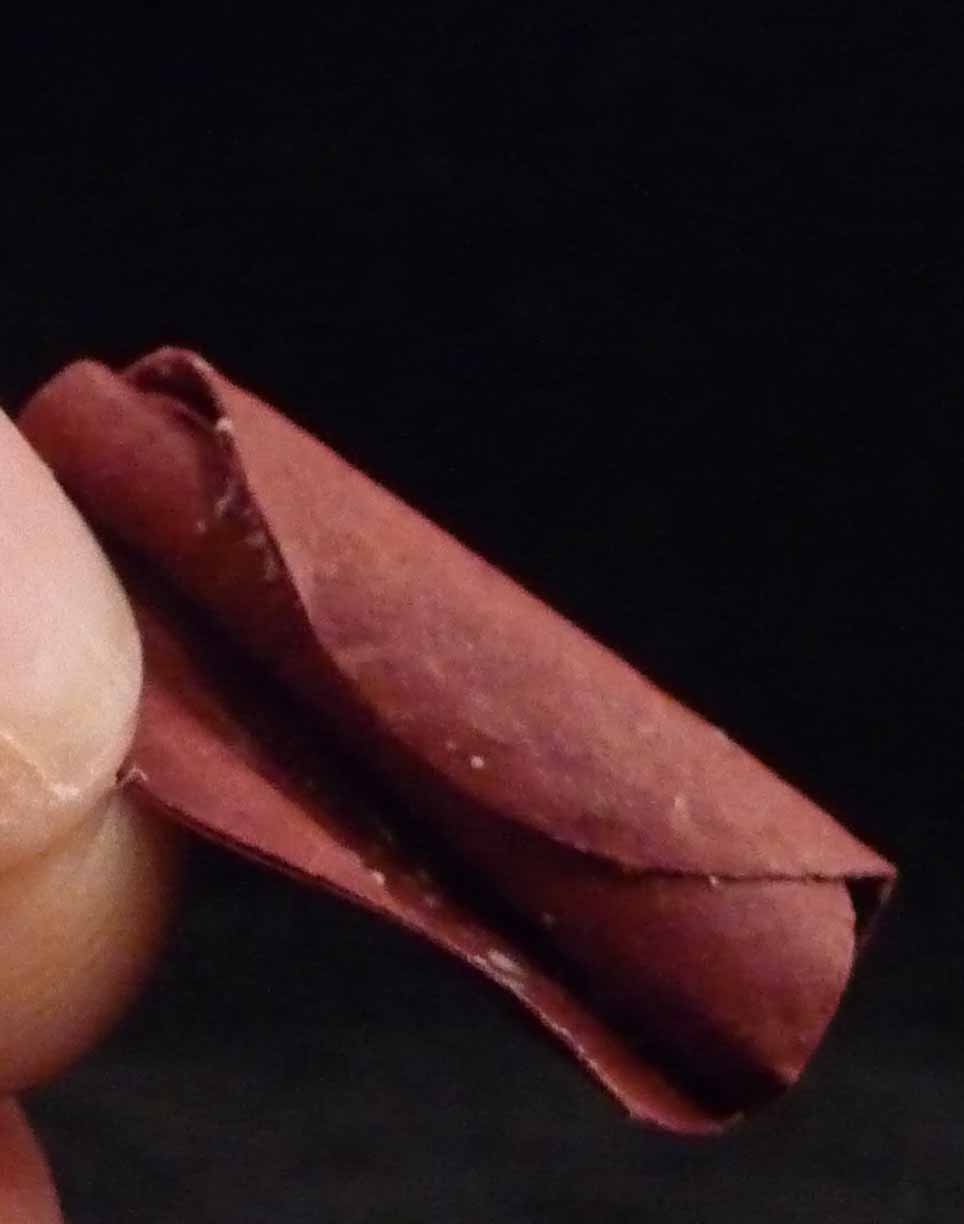
Showing posts with label rose. Show all posts

Wednesday, July 16, 2014

Encrusted Rose on Scrapadabadoo Blog


I am in love with this card. In love with the roses.
I used the  Frantage Encrusted Jewel set from Stampabilities to emboss the backgrounds on the card and tag. Then I added the glass glitter from the kit on the tag and butterfly. Which are awesome. But it is the roses that are the most stunning.


Hop on over to the Scrapadabadoo blog for more details and a tutorial.

Sunday, April 27, 2014

Clay Roses Tutorial

I have been having so much fun playing with all my crafty goodies from Scrapadabadoo. I have been wanting to make a video tutorial on making clay roses for a while. With my physical problems I have to work a little then rest. I have slowly gotten all this together piece by piece.I think you will really like it.


Here is a short video showing how I put this magnet together.
(I figured out how to add music to my videos. YAY ME! LOL)

Clay Rose Magnet


Here is another video showing how to color your white air dry clay with Lindy's Stamp Gang sprays.

Coloring Clay with LSG Sprays 


And now for the video showing how to make a full rose.

Clay Rose Tutorial


And here is the last video showing how to make the rose buds and leaves.

Clay rose buds and leaves


I got all my supplies from Scrapadabadoo.

Supplies


(could also use) Fimo Classic Clay White

Lindy’s Stamp Gang Sprays

( could also use) Provo Craft Cricut Spatula

  
Clay Rose Magnet Supplies


Even the lid came from something I ordered from Scrapa LOL.

Hope you enjoy these videos and make some lovely clay roses.

Friday, November 9, 2012

Wedding Card With Roses

A couple of years ago, I made a heart side step card for my hubby at Valentine's. It was red and black and has received a lot of page views.

Then I had computer problems and the cut files were messed up. 
I have made some new heart files and combined them with others that I had made to come up with this lovely wedding card.

I wanted to keep the colors light so I went with Tattered Rose Distress ink and white. It does not show up in the picture but all of the white layers are covered with a sparkly Perfect Pearl powder. (so shimmery {)


You can see that I did a lot of dry embossing and ink blending. I also used a direct to paper technique on some of the embossed hearts. You can watch an old video I did using this technique here.)

A few of my Open Roses, a heart border file, and some self adhesive pearls and I was quite pleased with my card.

Hope you enjoy it too :) 

The cut files and instructions for the side step card with hearts will be available on my Etsy shop.
(flower files and instructions sold separately.)


Wednesday, October 17, 2012

Yellow Roses on Birdcage

Well, I was going to wait until my sister got this card before I posted it, but changed my mind. 
I made a new birdcage file that I am excited about and since the other yellow roses turned out so well a few weeks ago, I went with yellow again.
(Scattered Straw with Wild Honey on the edges. The leaves are Shabby Shutters and Peeled Paint with a tiny bit of Evergreen Bough)


The last few roses are the smallest I had made in a long time. I did not want to have the roses so big that they looked too big for the cage.

I am so happy with the effect I got with the birdcage. 
It does not show up as well in the photo, but it looks a little like metal in person.
I used white cardstock to cut out with one of my cut files. (I have a lot planned with this file so you will definitely be seeing it again soon.)
I stained it with Black Soot distress stain because it gives a mottled look when it dries. Then I applied some German Silver gilder's paste in a few areas.

Of course I added some bling because everybody like a little bling. :)
Check out the tiny stone in the glittered bird's eye. Too cute!


.

Tuesday, July 24, 2012

Peach Roses on Graphic 45 Paper

I was playing around with more of my Open Roses and remembered I had some Graphic 45 Le Romantique paper that would be perfect for peach colored roses.


Oddly enough I did not have a Distress Ink that matched the coral shade in the Graphic 45 paper. I ended up using Victorian Velvet and Rusty Hinge. It is a very interesting combination.

I also used my Diamond Edged Decoration border and square mat along with some K and Co paper for the bottom of the card. The square mat is raised slightly with foam.

Of course, with all the flowers on the front, the card does get quite bulky.


But then, I forget all about that when I look at those roses...


...they are so pretty that nothing else matters, LOL

I have a ton of other projects planned. I just have to work around Life. :)


Wednesday, July 18, 2012

Open Roses


Well I FINALLY got the videos and cut files ready for the "Open Rose"

I spent soooo long trying to figure out how to explain how I made them. It was one of those things you knew how to do but could not describe it.
Well, I ended up coming up with a new solution that is even easier.

I am thrilled with the results.
Here are a few examples.


I am selling the cut files and links to the instructional videos in my Etsy store.
It cam out to a little over 1 hour and 20 minutes worth of instructions.
Of course it does not take that long to make one, I just wanted to explain everything really well and take my time so people could see what I was doing. :)

You can also make another flower with the same cut files. It is easier and is called an "open flower".


It is pretty quick to make too. You can use this same technique for most flowers that have broad petals.

Here is a video tutorial for the open flower.


If you have ever purchased flower instructional packages from me before, I will be emailing you soon with a 50% off discount code for the "Open Rose" package.

I am also offering all my blog followers a 25% discount on any purchase from my Etsy store.
I will be sending out an email later tonight with the discount code. If you do not get an email, just send me a message at papercompulsions@gmail.com and I will send it to you.

I also added several new files to my Etsy shop as well as the actual paper roses you see in the pictures and video.
You can also custom order flowers in any color and size. 
I used Tim Holtz Distress Inks to color my petals so if you want one of his colors but don't see it pictured, just let me know.

I will also be offering a chance to win some free flowers later this week!

Thanks so much for your patience.
I hope you enjoy the pictures and video.


Tuesday, February 21, 2012

Roses and D'mask

Hello blogger friends. I have a card to share with you that is very special to me. I made it for my sister's birthday. She loves purple so that was my first color choice. For some reason the colors don't photograph well, but they are so pretty in person.


Check out the purple and black paper. At first I panned to use black and white D'mask paper and have purple accents. The D'mask paper is flocked and feels so luxurious. The problem was that when I started to add the black and white paper, it was too big of a contrast with all the black and purple.

So I came up with a good idea. Those are so few and far between sometimes so I decided to document it with a really quick video. LOL


You can't see the sparkle in the pictures or video but it glimmers. The flock is completely fine too.

Here is another little video showing how I arrange my handmade paper roses on cards and other projects.


After many, many, many attempts and several hours worth of useless videos, I finally came up with a way to explain how to make these flowers.  I am going to call these "Regal Rose" because they are different than the "Cabbage Rose".


The video links to the Regal Rose Tutorial videos will be on my sidebar as well as my Etsy shop. Fair warning, these flowers are detailed and take several steps. (Some of us like that sort of thing and others do not) I just do not want anyone to purchase the cut files and links to the videos and then be disappointed because you decided that it was too much work or that you just don't have time to make them.  I believe in knowing what you are getting :)

Sunday, February 12, 2012

Pizza Box for The Crafter's Cafe'

Hello there. I  hope you are having a wonderful day! 
I had a lot of fun last night doing an online chat and project at The Crafter's Cafe'. They are a wonderful group of ladies and it was so fun to feel like I was part of a crafting group for a little while. Since I am not physically able to go be a part of a crop or craft group, this was a treat.  I could not join in for very long because I was not feeling well but I was able to make this really pretty pizza box.


We got the instructions for making the box itself at Split Coast Stampers. I was able to use several of my left overs  from other projects to decorate it so it went together really quickly. (That is rare for me. LOL)


I even put a little design on the inside lid.

I had a lot of fun with the group and am glad I was able to use some of my stash :)

Sunday, January 29, 2012

Heart Shaped Box

With Valentine's Day fast approaching, I made a decorative heart shaped box.


I used some old Anna Griffin paper that I stocked up on a while back. Along with colored cardstock and white cs that I inked. (Antique Linen and Fired Brick) Then I topped it of with one of my handmade open roses. (I have made a tutorial put I need to make a few changes and my body just has not cooperated with me this week...so it is coming soon)


Check it out, I even stamped the inside. (notice I did not get a close up picture of the stamped areas. LOL


I added a decorative heart flourish to the side.


It will be perfect for sending some craft goodies to my "secret sweetie" swap group over at The Crafter's Cafe'.


The cut files, templates, and video will be available tomorrow.


I am entering this project in:


Papercrafting Journey - Florals


Whimsical Wednesday - love themed home decor

Tuesday, August 2, 2011

New card, same elements

Hello my crafty friends!
This is a new card, but I used a lot of the same elements as the last post.
(you can go to the previous post to get the cut files)


I used the same colors and Color Me paper as the last post.
This time, I used ribbon to lace up the bottom of the scalloped shell mat. I just love the extra girly touch this adds.


The flowers were cut from white cardstock and inked with Stormy Sky distress ink.
The smaller flowers are the "pretty" flowers I did a tutorial on last week.

The large flower is the "open rose" that I love to make.
Sadly I just can't find a way to describe how I make this rose. It is difficult to put it into words and it comes out a little differnet every time. There is not a certain process that works every time. I make it up as I go.
(I made 3 yesterday and each one was different)
I will keep trying to find a way to show you how ot make this rose whenever I figure out how I do it :)

I have not forgotten about the birdhouse box and card. I just got a little sidetracked with the flower tutorials.
I have to finish some birthday cards and sympathy cards for family members, then I will post the birdhouse stuff.

Happy crafting!


Wednesday, July 27, 2011

Loose rose tutorial

These are lovely loose roses. They have a lot of demintion so they will not work in a scrapbook layout, but they are great for 3D projects and cards that do not have to be mailed.


My Loose Rose Tutorial 
(LOL..you can totally see the glue that I used to attach the seed beads right before I took the picture.)

1) Cut 5 petals (the large petals from the tattered flowers)


2) Ink, spray, or chalk if desired.

3) Place flower shape on mat (I use the arm rest that came with our computer mouse pad. You can also use fun foam craft sheets or the rubber mats that you use with embossing plates on your embossing machine.)

4) Use stylus to hand emboss each of the flower pieces. Make large circular motions with light pressure at first. Then go over the petal again with smaller circular motions and medium pressure. Do this to all 5 flower shapes. This breaks down the fibers in the paper and allows you to mold the petals. (see picture below)
5)  Now use the piercing tool to press against the backside of each petal while holding your thumb against  the front. Slide your thumb and the tool from the base of the petal to the tip. With a light pressure "curl" each petal downward. (Similar to pressing curling ribbon between scissors and your thumb)


 It will look like this when you are done.

6) Use piercing tool to "round" each petal. I hold one side of the petal with one hand and with the other hand I place the needle tool on the front of the petal and press my forefinger against the back of the petal. Starting from the center and working toward the edge, I use gentle pressure to "curl" the edge upward. Then I switch hands and shape the other side of the petal.


(OK, this picture is obviously of a different flower, but the technique is the same :)


7) With 2 of the flower shapes, gently pinch the sides of each petal inward, then fold each petal in towards the center one at a time. Fold all 6 petals in then release. Place one flower shape on the table and use your fingers to gently press all the petals in like this

This will be the center of the flower.

Do the same thing for the other flower shape, but don't close the petals quite as much. It should look something like this.


8) Curl the ends (tips) of each petal of the remaining 3 flower shapes. I place the piercing tool at the back tip  of the petal from the center to the right side. Then I use my finger to roll the edge of the flower over the needle tool and downward. Then I do the left side. 

9) Bend each of the petals up. For one set, bend them about 45 degrees like this


Bend the next set a little less, like this


And the last set just a little bit. Like this


The shapes should look something like this.


10) Take the center piece (that tight little bud on the far right) , open the petals, place beads in the center, then fold petals in again.


Now put glue on the bottom of each piece and stack on top of the next, staggering the petals.


Ta-Da!
Your done :)


Here is the cut file

Please remember this is for personal use only and is not to be used for profit.
I would REALLY appreciate it if you would mention me and /or link to my blog if you use my files on a project that you publish on the web. (that is not much to ask since I give the files out for free:)

Monday, July 25, 2011

Roses made from circles

I have been playing around with paper flowers ever since I was very young.
Even before I was old enough to go to school,
 I remember making tissue paper flowers
and drawing flowers on paper then cutting them out
and gluing them on something.
(probably on a lot of things that I should not have ...LOL)
So when I bought my very  first scrapbook tool,  a circle punch, I started thinking about paper flowers. So of course I played around with circles and came up with a rose that is made from them.  This flower is a good option if you do not have access to rose shaped cut files or die cutters. (Almost every one has a paper punch, circle cutter, circle die, or cartridge that will cut circles)


These flowers are all made with twelve 1 inch circles.

You can use any size circles.
(Just remember the smaller the circle, the harder it is to work on. You probably want to start out with 1in to 1.5 in circles)
You might decide to add more than 12 or use less than 12 after you play with it a while. There is NO right or wrong. I made this up. Just use whatever works for you.


1) Place each circle on a rubber mat and use a stylus to rub over them. Make large circle motions with light pressure at first. Then use small circular motions with medium pressure. This breaks down the fibers in the paper and makes it easier to shape later.


2) Now take a smooth round tool (needle tool, skewer, end of paintbrush, etc) and smooth the petals out. Grab the circle with one hand and with the other hand put the smooth tool on top of the petal and your finger on the bottom. Slide the tool and your finger to the opposite edge. Then grab the other side of the circle and do the same thing to the opposite side. This basically curls the left and right sides of the circle. Do this to all of the circles


3) Take one circle and take one side and roll it to the opposite side at a slight angle. (see picts)


Now put glue on one side and roll it up tightly like this...

This will be the center of the rose.

4) Next, take another circle, add glue, and wrap around the center piece you created in the last step.


5) Curl the upper left and right sides of all the remaining circles. Place the smooth round tool behind the upper left side (from the center to the edge as shown)


It will look like this:


Then do the same thing to the upper right side.


6) Put glue on the petal and wrap it around the center piece.


I like to make sure I cover the seams on the center piece when I add each new petal. When you get to the edge, bend the upper edge back a little. 


7) Continue putting glue on each petal and wrapping it around your center flower. Stagger the petals. Use your fingers to push the edges or the top over a little so they are not completely round and they are not all exactly alike.


I just add a small amount of glue so that it dries quickly. I hold the new petal on for about a minute. That keeps the flower from falling apart on me half way through the project because the glue is not dry.


Keep turning the center piece and adding petals until it is as big as you like it.

The last few petals do not wrap around as much. They are just attached at the bottom and lower edges.


The flower does get pretty thick. It is possible to cut off the bottom edge to cut down on the bulk, but you have to make sure that the petals are glued securely. You may have to glue some of the petals back on after you cut it.

It takes time and practice. It does get easier each time you make one. I probably redid my first flower about 10 times.( so hang in there :)


Remember, there is no right or wrong. Do what works for you.
I roll my petals fairly tight, but they would look just as good if you put them on loosely (I am not sure if that is a word...LOL)

Have fun with it!

I will add this to the tabbed pages at the top of my blog.