Saturday, June 14, 2014

Memo Board Instructions

Hello crafty friends!
Remember the Time Traveler Memo Board I did for the Scrapadabadoo Crafts Ustream Event?
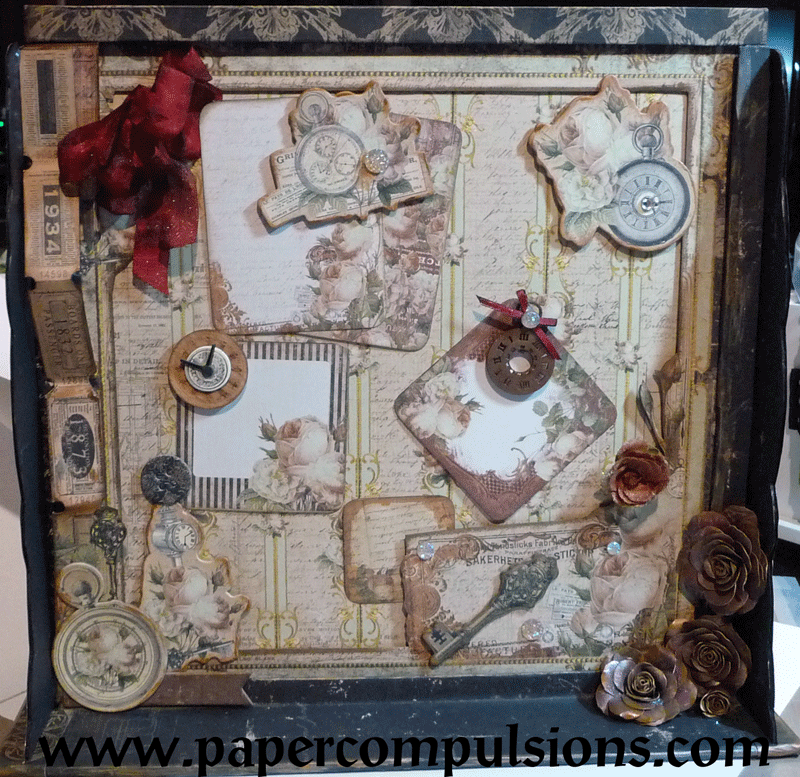


There is a magnetic memo board on one side.


And a magnetic dry erase calendar on the other side.

I even covered the dry erase marker in paper. LOL


I FINALLY got the instruction manual and templates finished! (yay me...LOL)
I took forever just because I am slow when I am hurting. But, hey they are here. :) 
I thought I might feel up to streaming again to show the project but have not been up to it yet. 

You can see a video where I show the project here.

There are a couple of things I should explain about the files.


  • They are in a compressed folder to make it easier to download. You will need to download it, then click on the folder and choose "extract all files" in order to open the files the first time. You only need to do this once. Your computer will save the files for you and from then on you will just go to the folder where you saved the files

  • The templates come in a separate folder from the Assembly Guide to insure more accurate measurements. They are also easier to print this way. 


These are just examples.


The
Assembly Guide comes in 2 forms

     1) a PDF instruction manual that contains working links and allows you to scroll
     from page to page. However, some of the images and print comes out blurry in
     this format.

    2) Individual PDF sheets. You will have to open each page separately but the
    images and print are much clearer.

(I suggest you start with the first version and if you come across some thing you would like to have a better image of you can switch to the individual pages. NOTE: the page numbers do not all match up between the 2 copies)

So here is the link to download all the files for the Time Traveler Memo Board/ Calendar.

I tried to make the instructions as easy as possible with lots of pictures and cutting guides.

Enjoy!


Wednesday, June 4, 2014

Primrose Cards with Bo Bunny Papers


Check out the beautiful cards I made using the Bo Bunny Primrose 12 by 12 paper pad from


I got a little carried away, but with all these
beautiful butterflies and lovely papers,
who can blame me. LOL


You can "catch" the instructional videos on how
easily these cards came together on the 

(you won't even need a net)
LOL

Tuesday, June 3, 2014

Update on Teacher Appreciation and Graduation Projects

Hello crafty friends!

I have been really busy with projects but have not posted many of them. LOL
Some of them will be coming up soon on the Scrapadabadoo blog.
I thought I would post and update on some of the other projects though.


I made a couple of apple boxes for a customer who needed teacher appreciation gift boxes. They ended up being pretty big (8 inches by 4 inches). I used chipboard to construct them so they were very sturdy.  Then I covered them in paper.

Speaking of the paper... I found this stash of school themed pattern paper recently. It has been packed away in a box in the garage for SEVERAL years. LOL It was perfect for the box so I used it all up.

Any guess how old this paper is???
5 years?...no
10 years?...no
I bought it in 2002! Yes, it is 12 years old. 
Can you believe that!
My only excuse is that it got packed away years ago when we moved back to Texas from New Mexico and just never ended up getting unpacked, LOL

Oh well, I found a nice place to be now and looks great for this project. haha
I used my old school cut files but if anyone is interested in how or wants new cut files, let me know and I will add them to my Etsy listings.

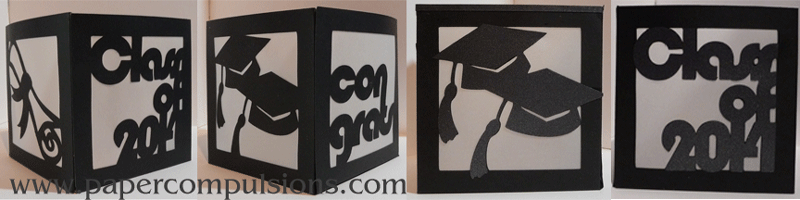
I also made cut files for graduation luminaries and made several. (just never posted LOL)

Added some cutout pieces to them too.

Those pieces would make great decorations too.

Made a few of my grad cap boxes too.


Made an ADORABLE little chick with Flower Soft and a plastic egg but was hurting too much to post it around Easter.


So CUTE!

More projects coming soon.
I may even dig up a few more that have never been shared.

enjoy