
I have been playing around with paper flowers ever since I was very young.
Even before I was old enough to go to school,
I remember making tissue paper flowers
and drawing flowers on paper then cutting them out
and gluing them on something.
(probably on a lot of things that I should not have ...LOL)
So when I bought my very first scrapbook tool, a circle punch, I started thinking about paper flowers. So of course I played around with circles and came up with a rose that is made from them. This flower is a good option if you do not have access to rose shaped cut files or die cutters. (Almost every one has a paper punch, circle cutter, circle die, or cartridge that will cut circles)


 These flowers are all made with twelve 1 inch circles.
You can use any size circles.
(Just remember the smaller the circle, the harder it is to work on. You probably want to start out with 1in to 1.5 in circles)
You might decide to add more than 12 or use less than 12 after you play with it a while. There is NO right or wrong. I made this up. Just use whatever works for you.
1) Place each circle on a rubber mat and use a stylus to rub over them. Make large circle motions with light pressure at first. Then use small circular motions with medium pressure. This breaks down the fibers in the paper and makes it easier to shape later.


2) Now take a smooth round tool (needle tool, skewer, end of paintbrush, etc) and smooth the petals out. Grab the circle with one hand and with the other hand put the smooth tool on top of the petal and your finger on the bottom. Slide the tool and your finger to the opposite edge. Then grab the other side of the circle and do the same thing to the opposite side. This basically curls the left and right sides of the circle. Do this to all of the circles


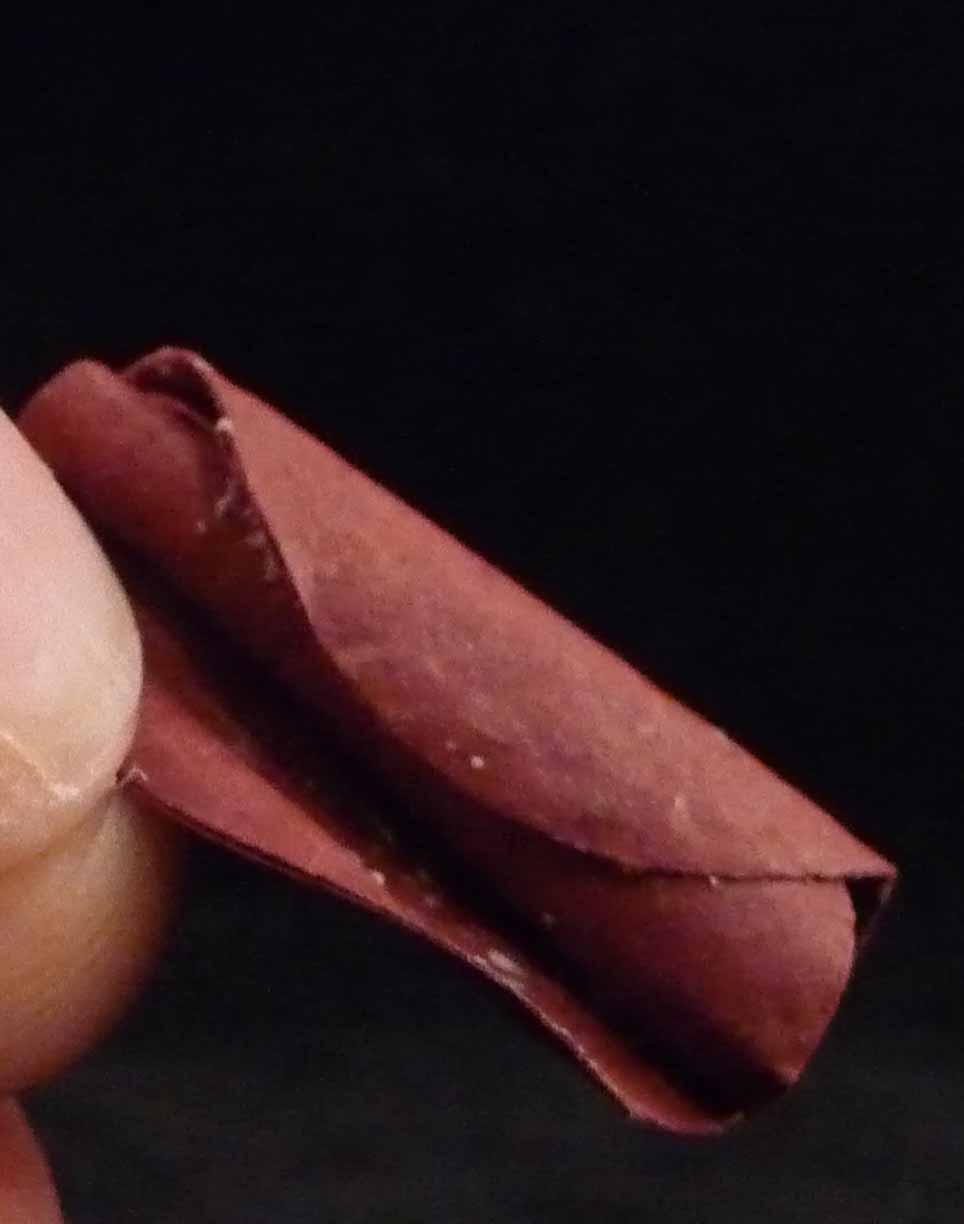
Now put glue on one side and roll it up tightly like this...


This will be the center of the rose.
4) Next, take another circle, add glue, and wrap around the center piece you created in the last step.


5) Curl the upper left and right sides of all the remaining circles. Place the smooth round tool behind the upper left side (from the center to the edge as shown)


It will look like this:

Then do the same thing to the upper right side.

6) Put glue on the petal and wrap it around the center piece.


I like to make sure I cover the seams on the center piece when I add each new petal. When you get to the edge, bend the upper edge back a little.

7) Continue putting glue on each petal and wrapping it around your center flower. Stagger the petals. Use your fingers to push the edges or the top over a little so they are not completely round and they are not all exactly alike.

I just add a small amount of glue so that it dries quickly. I hold the new petal on for about a minute. That keeps the flower from falling apart on me half way through the project because the glue is not dry.


Keep turning the center piece and adding petals until it is as big as you like it.
The last few petals do not wrap around as much. They are just attached at the bottom and lower edges.


The flower does get pretty thick. It is possible to cut off the bottom edge to cut down on the bulk, but you have to make sure that the petals are glued securely. You may have to glue some of the petals back on after you cut it.
It takes time and practice. It does get easier each time you make one. I probably redid my first flower about 10 times.( so hang in there :)

Remember, there is no right or wrong. Do what works for you.
I roll my petals fairly tight, but they would look just as good if you put them on loosely (I am not sure if that is a word...LOL)
Have fun with it!
I will add this to the tabbed pages at the top of my blog.
7 comments:
It has come out beautiful ! I make my roses with a heart punch as my circle punch is so small!
Cheers from Bangalore ,India
Dr Sonia S V
http://cardsandschoolprojects.blogspot.com
those are beautiful! I wouldn't have the patience for that AND it wouldn't come out as pretty HAHA
Just a quick note to let you know that a link to this post will be placed on CraftCrave in the Cutting category today [26 Jul 01:00am GMT]. Thanks, Maria
NICE! I can't believe how gorgeous these are. Thanks for sharing.
Your really talented, hun!
I love all your flower creations!
Love it! TFS
I love roses...thank you for sharing your secret of how to create so beautiful Rose....
Post a Comment